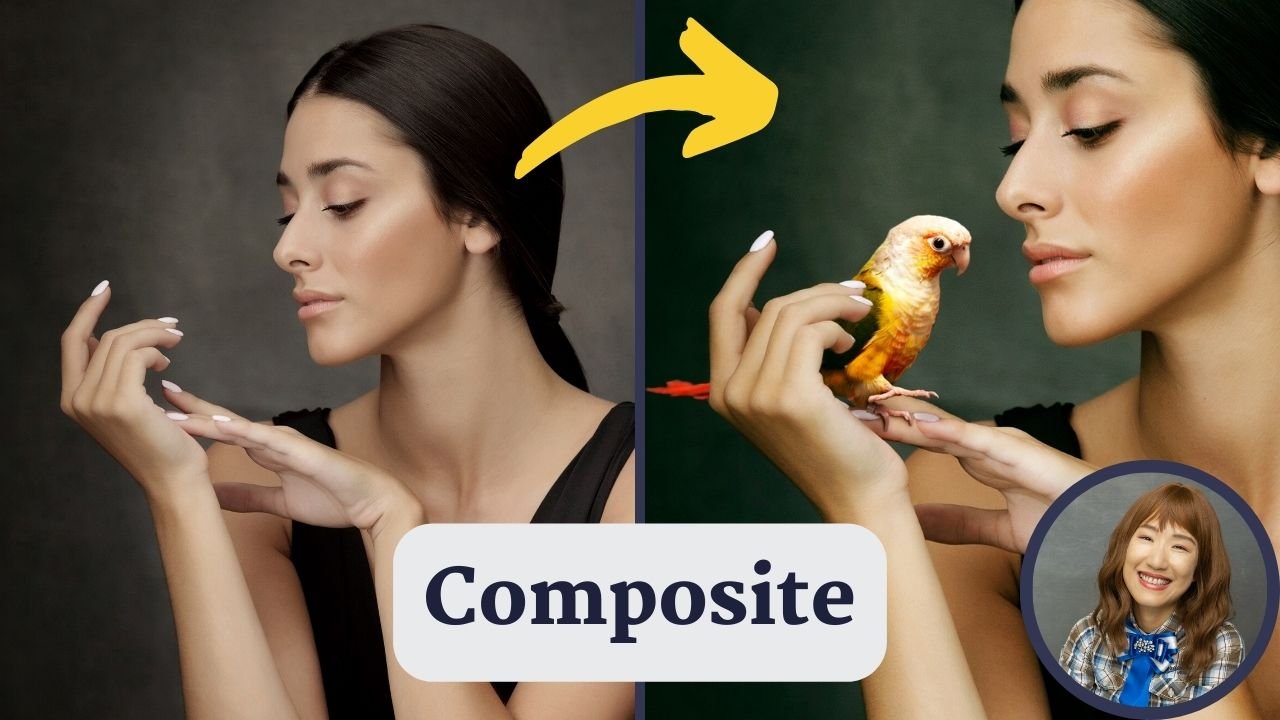
How to Create a Simple Photo Composite with a Bird and a Person in Photoshop
Introduction
In this video, Lili Amanda demonstrates how to create a composite image by adding a bird to a photo. She walks through the step-by-step process of cutting out the bird (Link to the tutorial), sizing it down, and adding shadows to make the final image look more cohesive. Amanda also offers tips on color matching and adjusting contrast for a more professional-looking end result.
What You Can Learn from This Video
This tutorial is a great introduction to creating composite images. Lili Amanda’s step-by-step instructions make it easy to follow along even for beginners. Additionally, Lili Amanda’s tips on color matching and contrast adjustment can be applied to a variety of photo editing projects.
What’s Cool About the Video
Lili Amanda’s demonstration is straightforward and easy to understand. She takes a complex process and breaks it down into simple, manageable steps. Plus, her use of a cute bird as the subject of the composite image adds a fun and unique element to the tutorial.
Techniques, Tools, Adjustment Layers, and Filters Used in the Video
Lili Amanda uses a variety of tools and techniques to create her composite image. She starts by cutting out the bird from its original photo (Link to the tutorial) and pasting it onto the photo with the model’s hand. She then uses the transform tool to size the bird down to the appropriate size and position. To create shadows, Lili Amanda adds three separate shadow layers underneath the bird and uses the Gaussian blur filter to soften the edges. She also uses curve adjustment layers to match the color of the bird to the photo and to adjust contrast.
Overall, this video is a great resource for anyone looking to learn how to create composite images or improve their photo editing skills.

