
How to quickly remove flyaway hair in Adobe Photoshop (in seconds)
Introduction:
Flyaway hair can be a real nuisance in portrait photography. Those stray strands can distract from the subject’s face and overall image quality. In the past, removing these flyaways meant meticulous manual retouching, which is time-consuming. But what if there was a way to do it quickly, in just seconds? In this tutorial, we’re going to explore a brilliant and time-efficient technique for removing flyaway hair in Adobe Photoshop.
The Creative Inspiration:
Lili Amanda set out on a mission to find a faster way to remove flyaway hair. She sought inspiration from unexpected sources, including discussions on Einstein’s theories and the capabilities of AI. Her realization was simple but ingenious: use the existing data in the image itself to “generate” the perfect fix for flyaway hair.
Traditional Methods:
Before diving into the quick technique, Lili Amanda demonstrates the traditional methods that many photographers use to retouch flyaway hair. She shows the limitations and time-consuming nature of tools like the Patch Tool, Healing Brush Tool, Clone Stamp Tool, Content-Aware, and Spot Healing Brush.
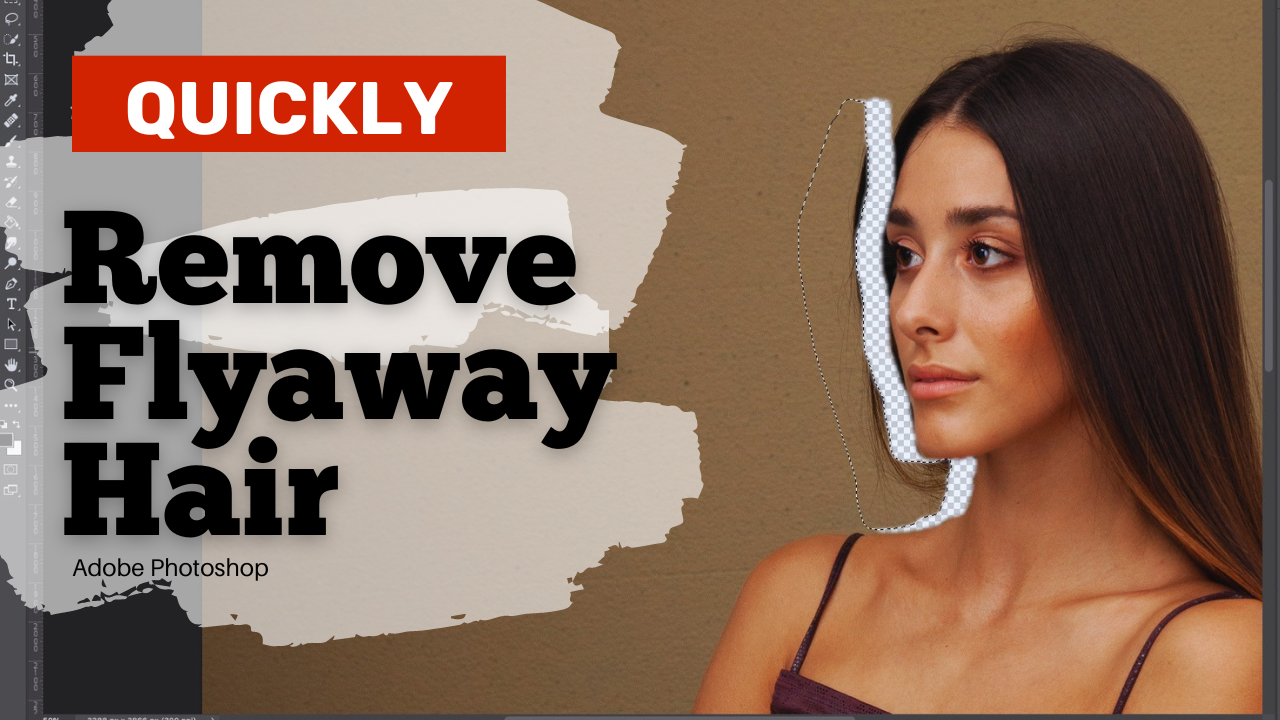
The Quick and Easy Technique:
Now, it’s time to unveil the quick and easy technique for removing flyaway hair. Lili Amanda shows how to make a rough selection around the flyaway hair strands using the Lasso Tool. Next, she copies an area of the image without flyaways and pastes it over the selected area. With a simple layer mask, she blends the pasted area seamlessly with the subject’s skin.
The results are astounding. In mere seconds, the flyaway hair is gone, and the image remains natural and clean. Any residual imperfections are easily addressed with the Patch Tool to create a flawless final result.
Conclusion:
Lili Amanda’s innovative method for removing flyaway hair in Photoshop is a game-changer for portrait photographers. It saves time and yields excellent results. By using existing data within the image itself, you can quickly achieve a polished and professional look without spending hours on manual retouching.
So, next time you’re faced with the challenge of flyaway hair in your portraits, remember this quick and easy technique. Try it out, and you’ll be amazed at how efficient and effective it is. If you found this tutorial valuable, don’t forget to give it a thumbs up and subscribe for more helpful tutorials like this. Happy retouching!
The results are astounding. In mere seconds, the flyaway hair is gone, and the image remains natural and clean. Any residual imperfections are easily addressed with the Patch Tool to create a flawless final result.