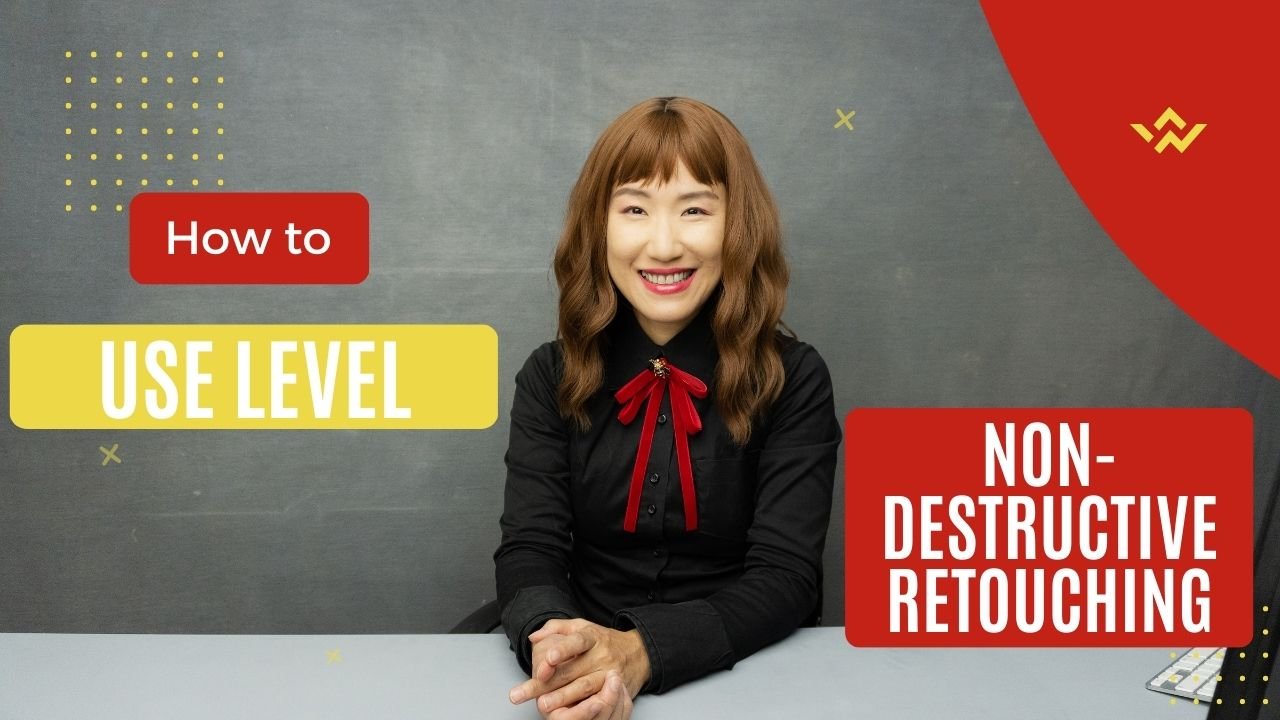
How to Use Levels in Photoshop for Non-Destructive Retouching
Introduction
Levels is a tool in Photoshop that is easy to use and understand, making it a great choice for those who are just starting to learn retouching. In this tutorial by Lili Amanda from Portrait Creatives, you will learn how to use levels for non-destructive retouching, adjust your image’s brightness and contrast with the histogram, and utilize the eyedroppers to change specific colors.
The Video
The video starts off with Lili Amanda introducing herself and talking about the importance of using levels in Photoshop for retouching. She then takes you into Photoshop to show you how to use levels in a non-destructive way by adding an adjustment layer. She explains that this method allows you to go back and change the settings later, unlike applying adjustments directly to the image.
Lili Amanda then goes on to explain the histogram and how to use the three triangle points to adjust the brightness, contrast, and midtones of the image. She demonstrates how to use the eyedroppers to change specific colors in the image and how to adjust the brightness and contrast to create a more dramatic effect.
What You Can Learn from This Video
In this video, you can learn how to use levels in Photoshop for non-destructive retouching, adjust your image’s brightness and contrast with the histogram, and utilize the eyedroppers to change specific colors. You can also learn how to use adjustment layers for non-destructive retouching, which allows you to go back and change the settings later.
What’s Cool About the Video
What’s cool about this video is that it is easy to follow along with and understand, even for beginners. Lili Amanda does a great job of explaining the different tools and techniques used in the video, making it easy to apply them to your own retouching projects.
Techniques, Tools, Adjustment Layers, and Filters Used in the Video
- Levels
- Adjustment Layers
- Histogram
- Eyedroppers
Conclusion
Using levels in Photoshop is a powerful tool for non-destructive retouching, and this tutorial by Lili Amanda from Portrait Creatives does a great job of explaining how to use it effectively. By following along with the video, you can learn how to adjust your image’s brightness and contrast with the histogram and utilize the eyedroppers to change specific colors. This is a great tutorial for beginners and those looking to improve their retouching skills in Photoshop.

